Tuesday, January 4, 2011

Wrapping Paper Organizing...

Well, I hope everyone had a fantastic holiday.  I, for one, was more than ready to take back my home from the Christmas.  Does that make me a Grinch? I hope not.  I am biting at the bit Thanksgiving evening, anticipating my decorating frenzy on Black Friday, and Christmas evening, I am biting at the bit, anticipating packing away all the red, green, and silver! New Year's resolution #1 was to Organize our home so that I'm not embarassed to open my closet doors in front of company.  I mean who wants a crowd of people marveling at your ability to cram crap into a cubby?!?! Resolution #2 was to Finish what I start. Actually, #2 was assigned to me by my darling husband, who rattled off a list of things I needed to accomplish (finish) before being given the green flag to redo our staircase.  So, Project New Year's Day became my  storage, craft room:

We can all pretend that this chaos is a byproduct of Christmas decorating...but, in reality, this storage/craft room looked like this before Christmas.  Yikes! After two days of concentrated effort, I ended up with this:

And I was really bothered by the pegboard you see in the background of the first picture. It's original intention was to hold/organize my wrapping paper but I never really completed the project, so the wrapping paper was just sort of stuck up there in a pretty non-user-friendly kind of way. So, purchasing only a box of cuphooks and 12 dowel rods, I made myself an wrapping paper organizer that actually works!

1. I used 2 48" pine boards that were in our garage from some previous project. I measured them out and made a pencil mark every 4 inches .  On this pencil mark centered on the board, I screwed in one of my cuphooks. (BTW these are best purchased in bulk.  $2.98 for 8 or $3.23 for 100--I purchased the 100 pack).


2.  Next, I spray painted the boards with my (favorite) Krylon paint in matte white. Nothing fancy, but it did take three coats to cover up my pencil marks.

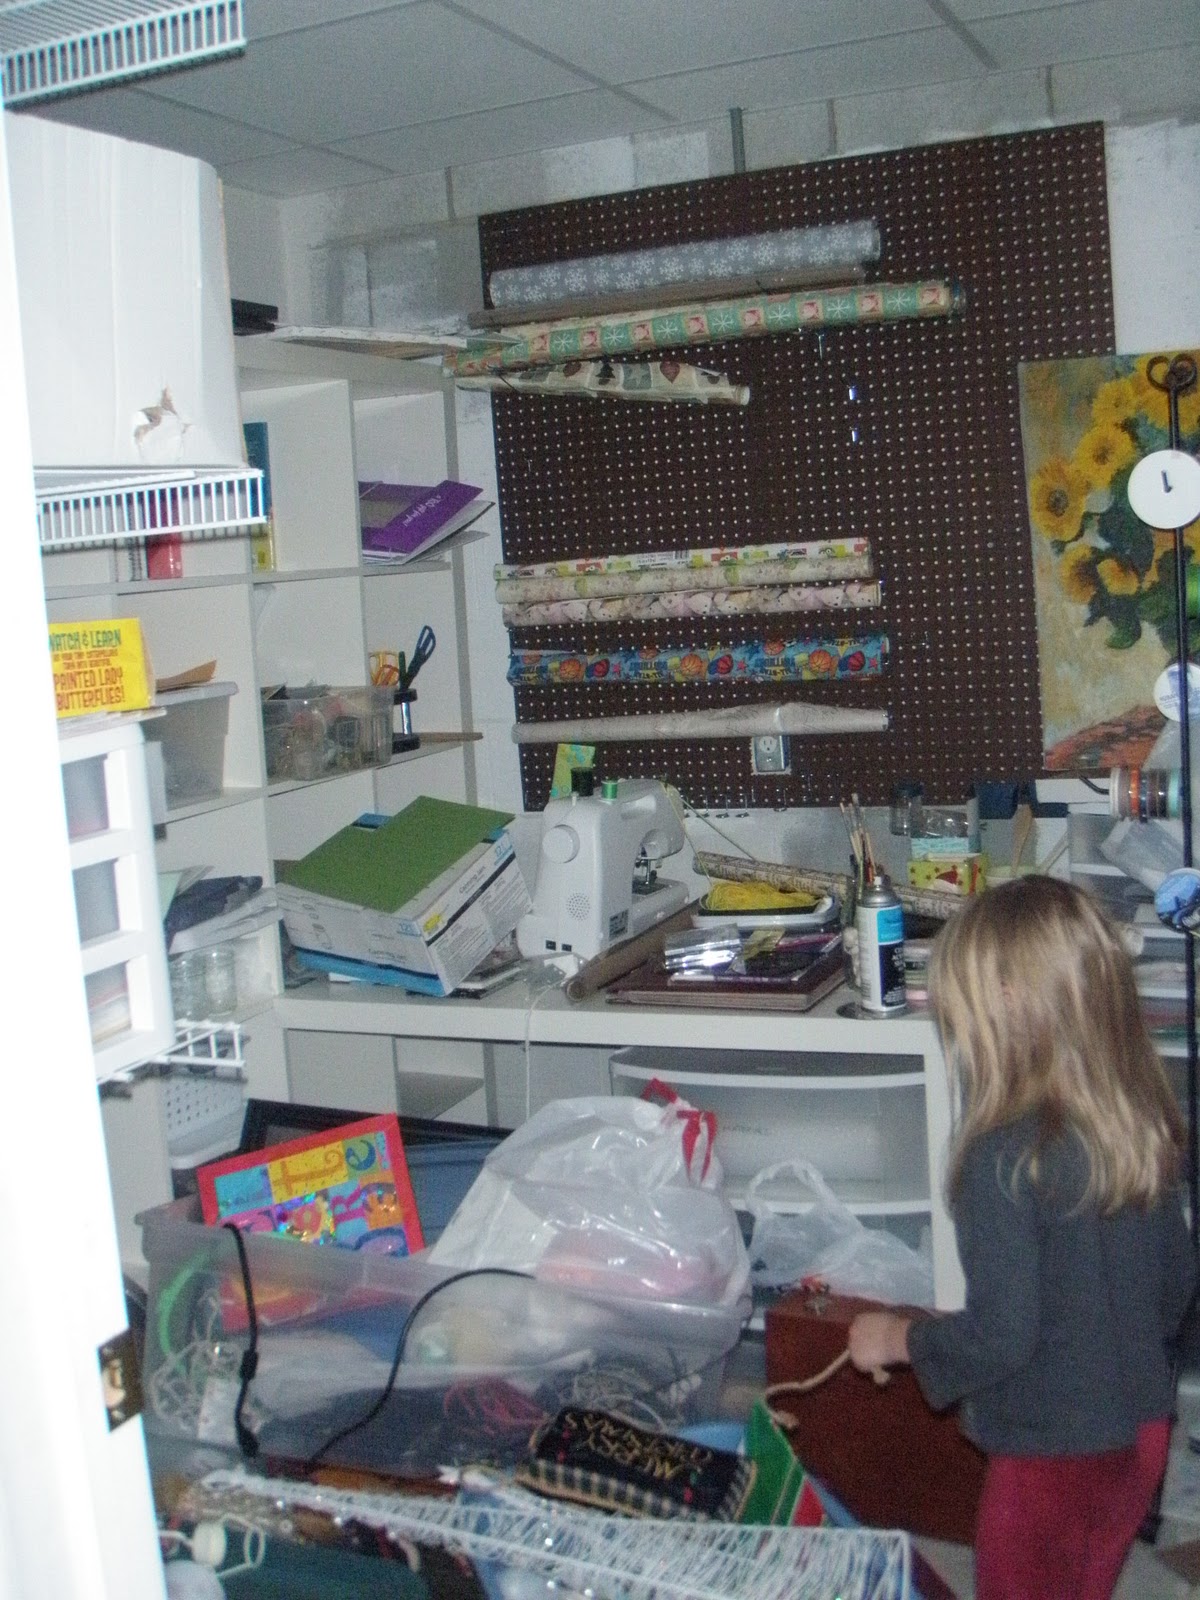
3.  When it was dry, I took it downstair to hang it up and knew I would hate it on that brown board, so I set about painting the brown pegboard white. 

4.  When the pegboard was dry, I used my drill to drill and screw my two 48" boards to the pegboard.  Before I fastened the second board, I made sure the dowel rods would accomodate an average size length of wrapping paper.

5. After the boards were hung, I put the dowel rods through the wrapping paper tubes and hung either side on the cuphooks. 


I'm pretty pleased with the effort, despite falling short on New Years resolution #3. Change into painting clothes before painting.

The next day, I scored awesome wrapping paper at Hobby Lobby.  Christmas decorations were all marked down 80% off and since this wrapping paper had a Christmas label on it, it qualified for the discount.  Each role was originally $7.99 and came down to $1.60 each. I think these look like they could be used for presents other than Christmas.  Maybe a wedding, birthdays, housewarming?  What do you think?